Construction cleaning is vital for ensuring that spaces are safe, usable, and visually appealing. Whether you’re prepping for a grand opening or just wrapping up a renovation, understanding the essential steps can make all the difference. In this guide, we’ll walk you through the key steps for effective construction cleaning, so you can transform a dusty worksite into a welcoming environment.
1. Assessing the Worksite
Start by evaluating the area to determine the extent of the cleanup required. Identify surfaces that need special attention or areas that are particularly messy.
Taking stock of the situation is crucial. Look for any hazardous materials or areas that may need additional safety precautions. Maybe there are sharp objects left behind or chemicals that should be handled with care. Spotting potential issues upfront can save you a lot of headaches later. It’s like creating a blueprint for your cleaning project, ensuring you don’t overlook any vital areas.
2. Creating a Cleaning Plan
Outline a detailed plan that includes the timeline for cleaning tasks, necessary equipment, and a checklist of areas to address.
A well-thought-out plan is the backbone of any successful cleaning project. Divide the tasks into manageable sections. For instance, prioritize which rooms or areas need immediate cleaning versus those that can wait. This will not only streamline your efforts but will also help coordinate with any ongoing construction work that might affect your cleaning.
Additionally, consider who will be involved in the cleaning process. Assigning roles can help accountability and ensure that no task falls through the cracks. For example, while one team focuses on dusting and wiping down surfaces, another can tackle vacuuming and mopping. Teamwork makes the dream work, especially in construction cleaning!
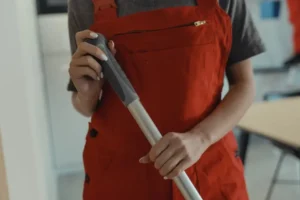
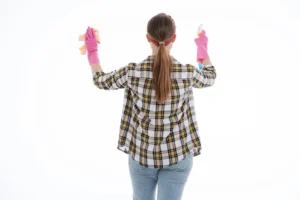
3. Equipping Yourself with the Right Tools
Gather the necessary cleaning supplies, including brooms, mops, vacuums, protective gear, and specialized cleaners for different surfaces.
Having the right tools on hand can significantly affect the efficiency of your cleaning efforts. Invest in high-quality cleaning materials that can handle tough jobs. Consider electric vacuums designed for construction debris; they can save you a ton of time. Also, don’t forget your protective gear! Gloves, masks, and goggles should be your best friends when it comes to keeping safety a priority.
Think about rental equipment as well. Sometimes, it’s worth renting heavy-duty steam cleaners or floor polishers, especially if you’re dealing with large areas or stubborn stains from construction. The last thing you want is to run out of supplies in the middle of the process! Having everything organized and ready will give you peace of mind and make the task at hand more manageable.
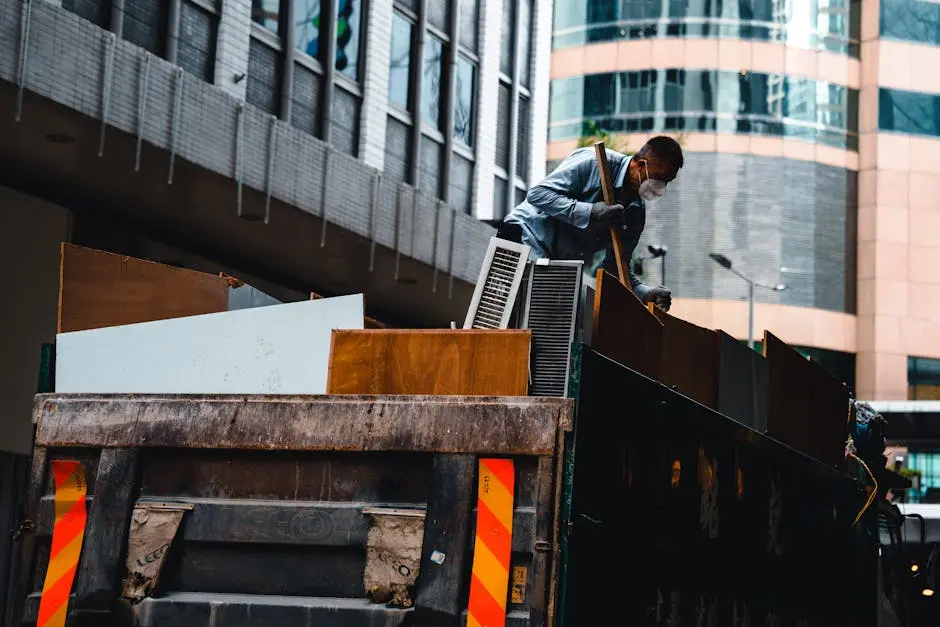
4. Removing Debris and Dust
Begin with the basics; clear away larger debris and then tackle dust using appropriate cleaning methods to avoid spreading it through the air.
Start your cleaning journey by picking up large pieces of waste—this sets the stage for deeper cleaning. Grab a sturdy trash bag or container, and systematically work your way around the space. Perhaps you’ll encounter scrap wood, leftover packaging, or even stray nails. Once these are gone, you’ll find it easier to dust and clean surfaces without the clutter in your way. It’s like decluttering your mind before embarking on a new task!
After you’ve cleared the debris, it’s time to address the layer of dust that lingers, even in seemingly clean areas. This is where a quality vacuum and damp cloths become indispensable. Vacuum surfaces, avoiding stirring the dust into the air, which could lead to respiratory issues later on. Wipe down surfaces with damp cloths; they capture dust better than dry ones. Also, don’t underestimate the power of a good, old-fashioned feather duster for hard-to-reach places!
5. Deep Cleaning All Surfaces
Focus on deep cleaning all surfaces, including floors, walls, windows, and any fixtures to ensure all remnants of construction work are removed.
Now that you’ve taken care of the initial clutter and dust, turning your focus towards a deep clean is vital. This step is often overlooked but is foundational to the overall cleanliness of the space. Begin with the floors; after all debris has been removed, use a mop with an appropriate cleaner to ensure all dirt and grime from construction are scrubbed away. Make sure to pay attention to corners and edges, as these often hide the toughest dirt.
Then, shift your attention to the walls and windows. If they are painted, use a suitable cleaner that won’t damage or dull the finish. For windows, using a glass cleaner prevents streaks and ensures transparency. Don’t forget fixtures like light switches and outlets too; a quick wipe down ensures that germs don’t find a comfortable home in your newly cleaned area!
6. Focusing on HVAC Systems
Don’t forget about the heating, ventilation, and air conditioning systems. Clean them thoroughly to promote good air quality and efficiency.
Why is this step important? Well, the HVAC system can collect a lot of debris during construction activities. Dust, particles, and even pollutants can clog air filters. This can lead to poor indoor air quality if not addressed. Cleaning your HVAC not only ensures a fresher environment but also helps in the efficient running of your system, preventing unnecessary energy costs down the line.
Make sure to replace or clean air filters regularly and consider hiring a professional for deep duct cleaning, especially after major renovations. Remember, a clean HVAC system contributes significantly to the comfort of the space, making it a vital step in your construction cleaning checklist.
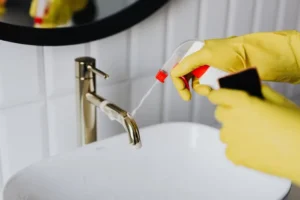
7. Sanitizing Restrooms
Restrooms require special attention; make sure to sanitize all surfaces and check that supplies like soap and paper towels are stocked.
When tackling restrooms, it’s important to focus on both cleanliness and hygiene. Start by disinfecting surfaces that come into frequent contact, like toilet seats, sinks, and door handles. Use appropriate cleaners that kill germs—not just mask odors. Remember, a clean restroom is a reflection of your overall attention to detail; it can significantly impact the perception of the entire space.
Beyond cleaning, don’t forget restocking essential supplies. A restroom without soap or paper towels can leave a bad impression. Always check for toilet paper and hand sanitizer as well. Stock up on and check these items regularly to ensure they are always available. Your guests and workers will appreciate the effort toward maintaining a clean, functional restroom!
8. Final Touches and Details
After the major cleaning tasks, pay attention to the final details such as polishing surfaces, removing streaks from glass, and ensuring everything is in place.
The final touches can be what separates an average clean from a truly exceptional one. For instance, polishing any glass fixtures can lead to a gleaming finish that catches the eye. Be meticulous; a quick touch-up can revitalise spaces and create a welcoming environment. Look for remaining dust bunnies that might have escaped your previous rounds of cleaning—ensure every corner shines!
Additionally, take a moment to step back and evaluate the space as a whole before you declare it clean. Arrange furniture and items neatly, ensuring that everything is properly placed. This not only enhances the visual appeal but also helps to maintain a sense of orderliness. Lighting can also make a difference; a well-lit room feels inviting, so ensure all fixtures are clean and functioning!
9. Post-Cleaning Inspection
Conduct a thorough inspection to ensure everything looks great and nothing has been overlooked before the space is deemed clean.
Think of this step as your final quality check. Walk through the space, and keep your eyes peeled for any missed spots. Sometimes, we become so focused on our work that small details slip through the cracks. Having someone else take a second look is also a good idea; fresh eyes can catch things you might overlook.
Once you’re satisfied that all is in order, document any areas that may need attention later or instances of recurring issues that you might want to address in future cleaning sessions. Maybe some areas need specialized cleaning equipment or additional attention—they can be included in your ongoing maintenance plan if noted early on!
10. Maintaining Cleanliness
Finally, establish a maintenance routine to keep the space clean after the initial deep clean, making future maintenance easier.
Creating a sustainable cleaning schedule will keep your freshly cleaned space looking its best long after initial efforts. Whether this involves daily tidying or weekly thorough cleanings, consistency is key. You might find that a little bit of maintenance every day prevents bigger messes from accumulating, making it easier to manage.
Engaging everyone who uses the space can foster a culture of cleanliness. Simple habits—like taking five minutes at the end of the day to tidy up—can significantly reduce future cleaning tasks and promote pride in the space. Remember, cleaning is not just a one-off task but an ongoing commitment. By encouraging vigilance, you ensure that the environment remains inviting for everyone!